The Best Authentic Pierogi from a Polish Chef
**This post contains affiliate links, which means if you buy something through those links I will receive a small commission at no extra cost to you. Click here to view my legal page. Thank you for your support!
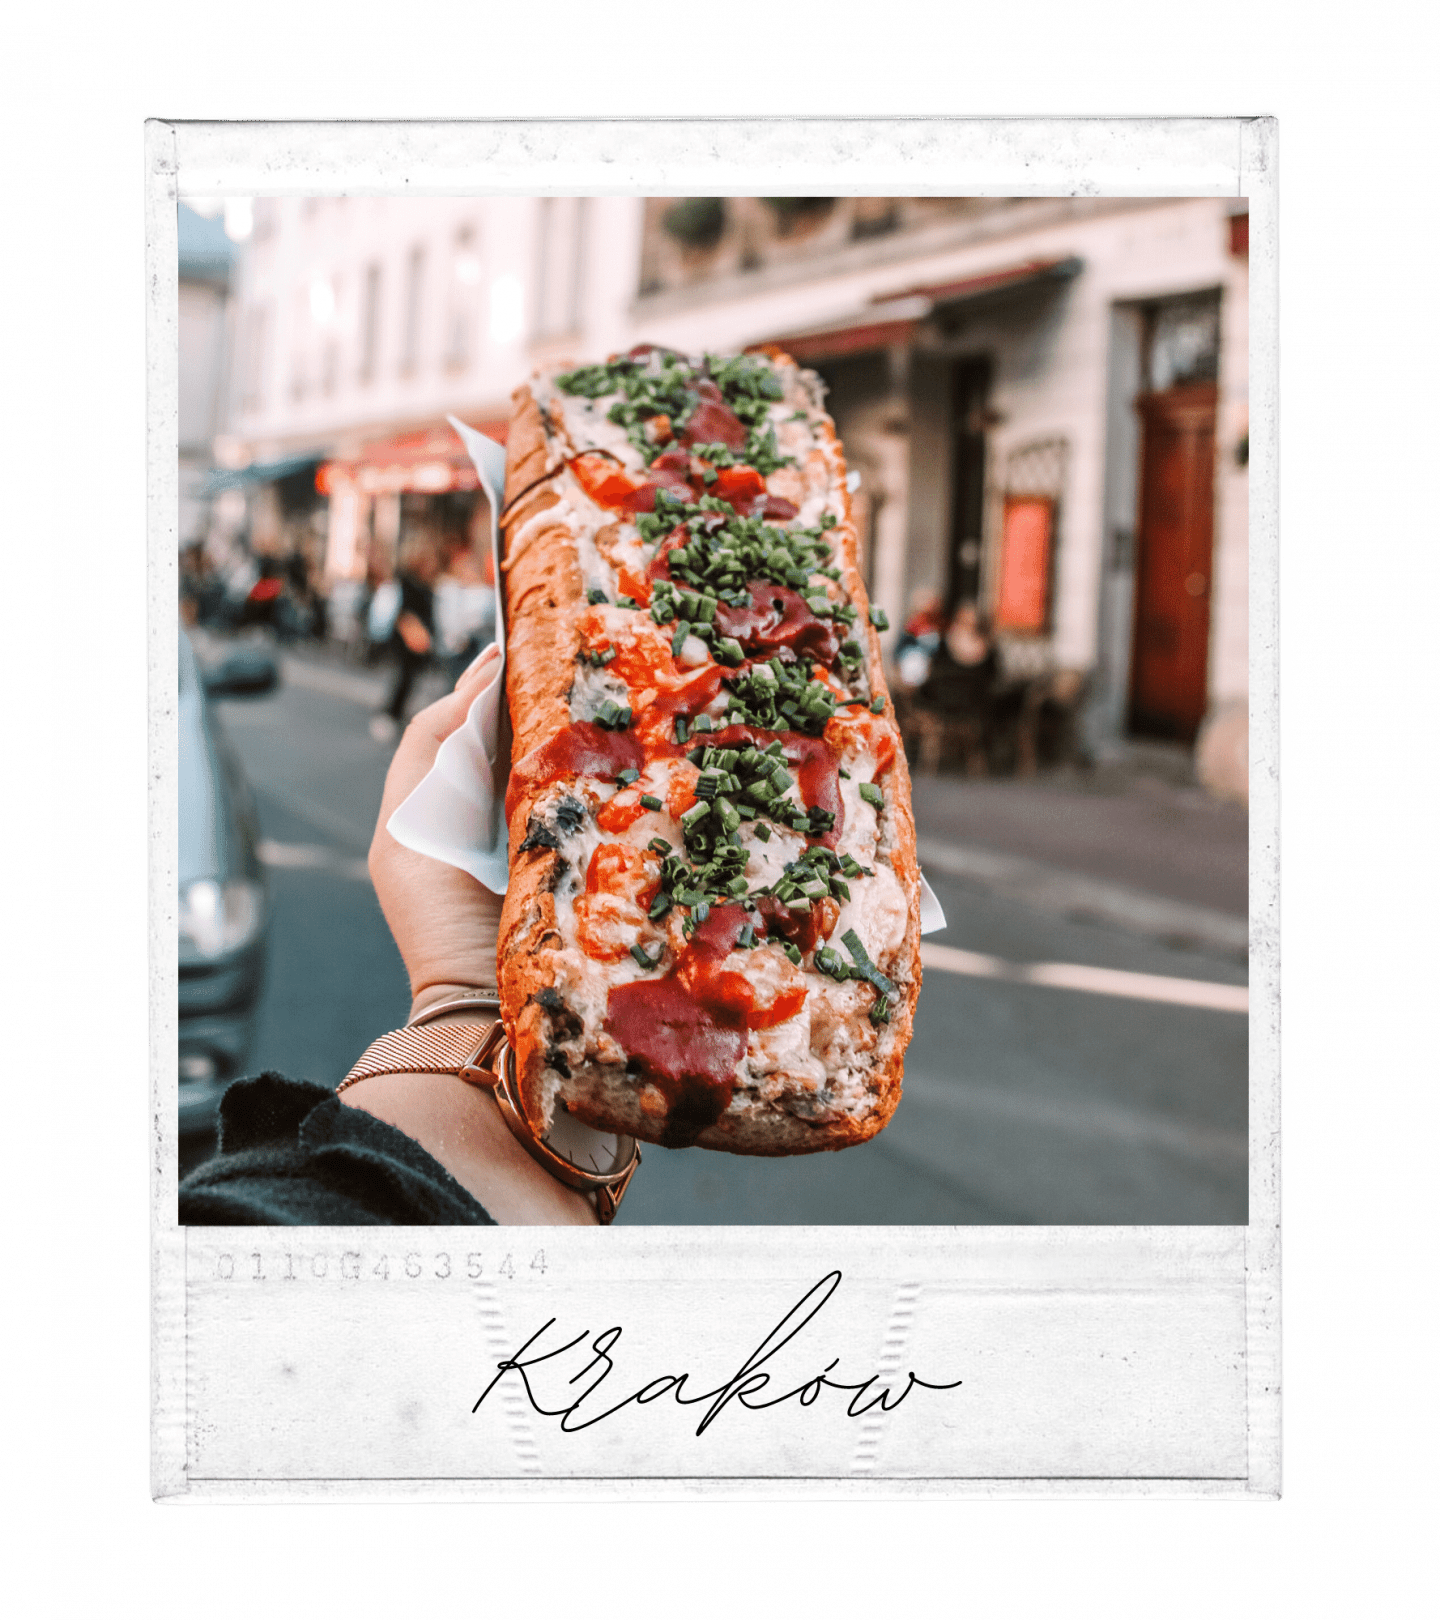
When I visit a new city, I love learning all about the traditional cuisine. I’ve found that the best way to really experience the local food, other than eating at every restaurant you can find, is by taking a cooking class! I arrived in Krakow back in October and the first stop on my itinerary was Olgierd’s cooking class to learn how to make authentic pierogi from a Polish chef.
If you get the chance to visit Krakow I would HIGHLY recommend booking Olgierd’s class. He is an extremely knowledgable chef and could not have been kinder or more patient with two Americans struggling to cook!
Sadly, Olgierd’s class is no longer available on Viator. Browse similar, highly-rated options below!
Also – make sure to check out my posts The Best Things to Do in Kraków, Poland and Traditional Food to Try in Poland for more tips about what to see and eat in Krakow!

How to Make Authentic Pierogi from a Polish Chef
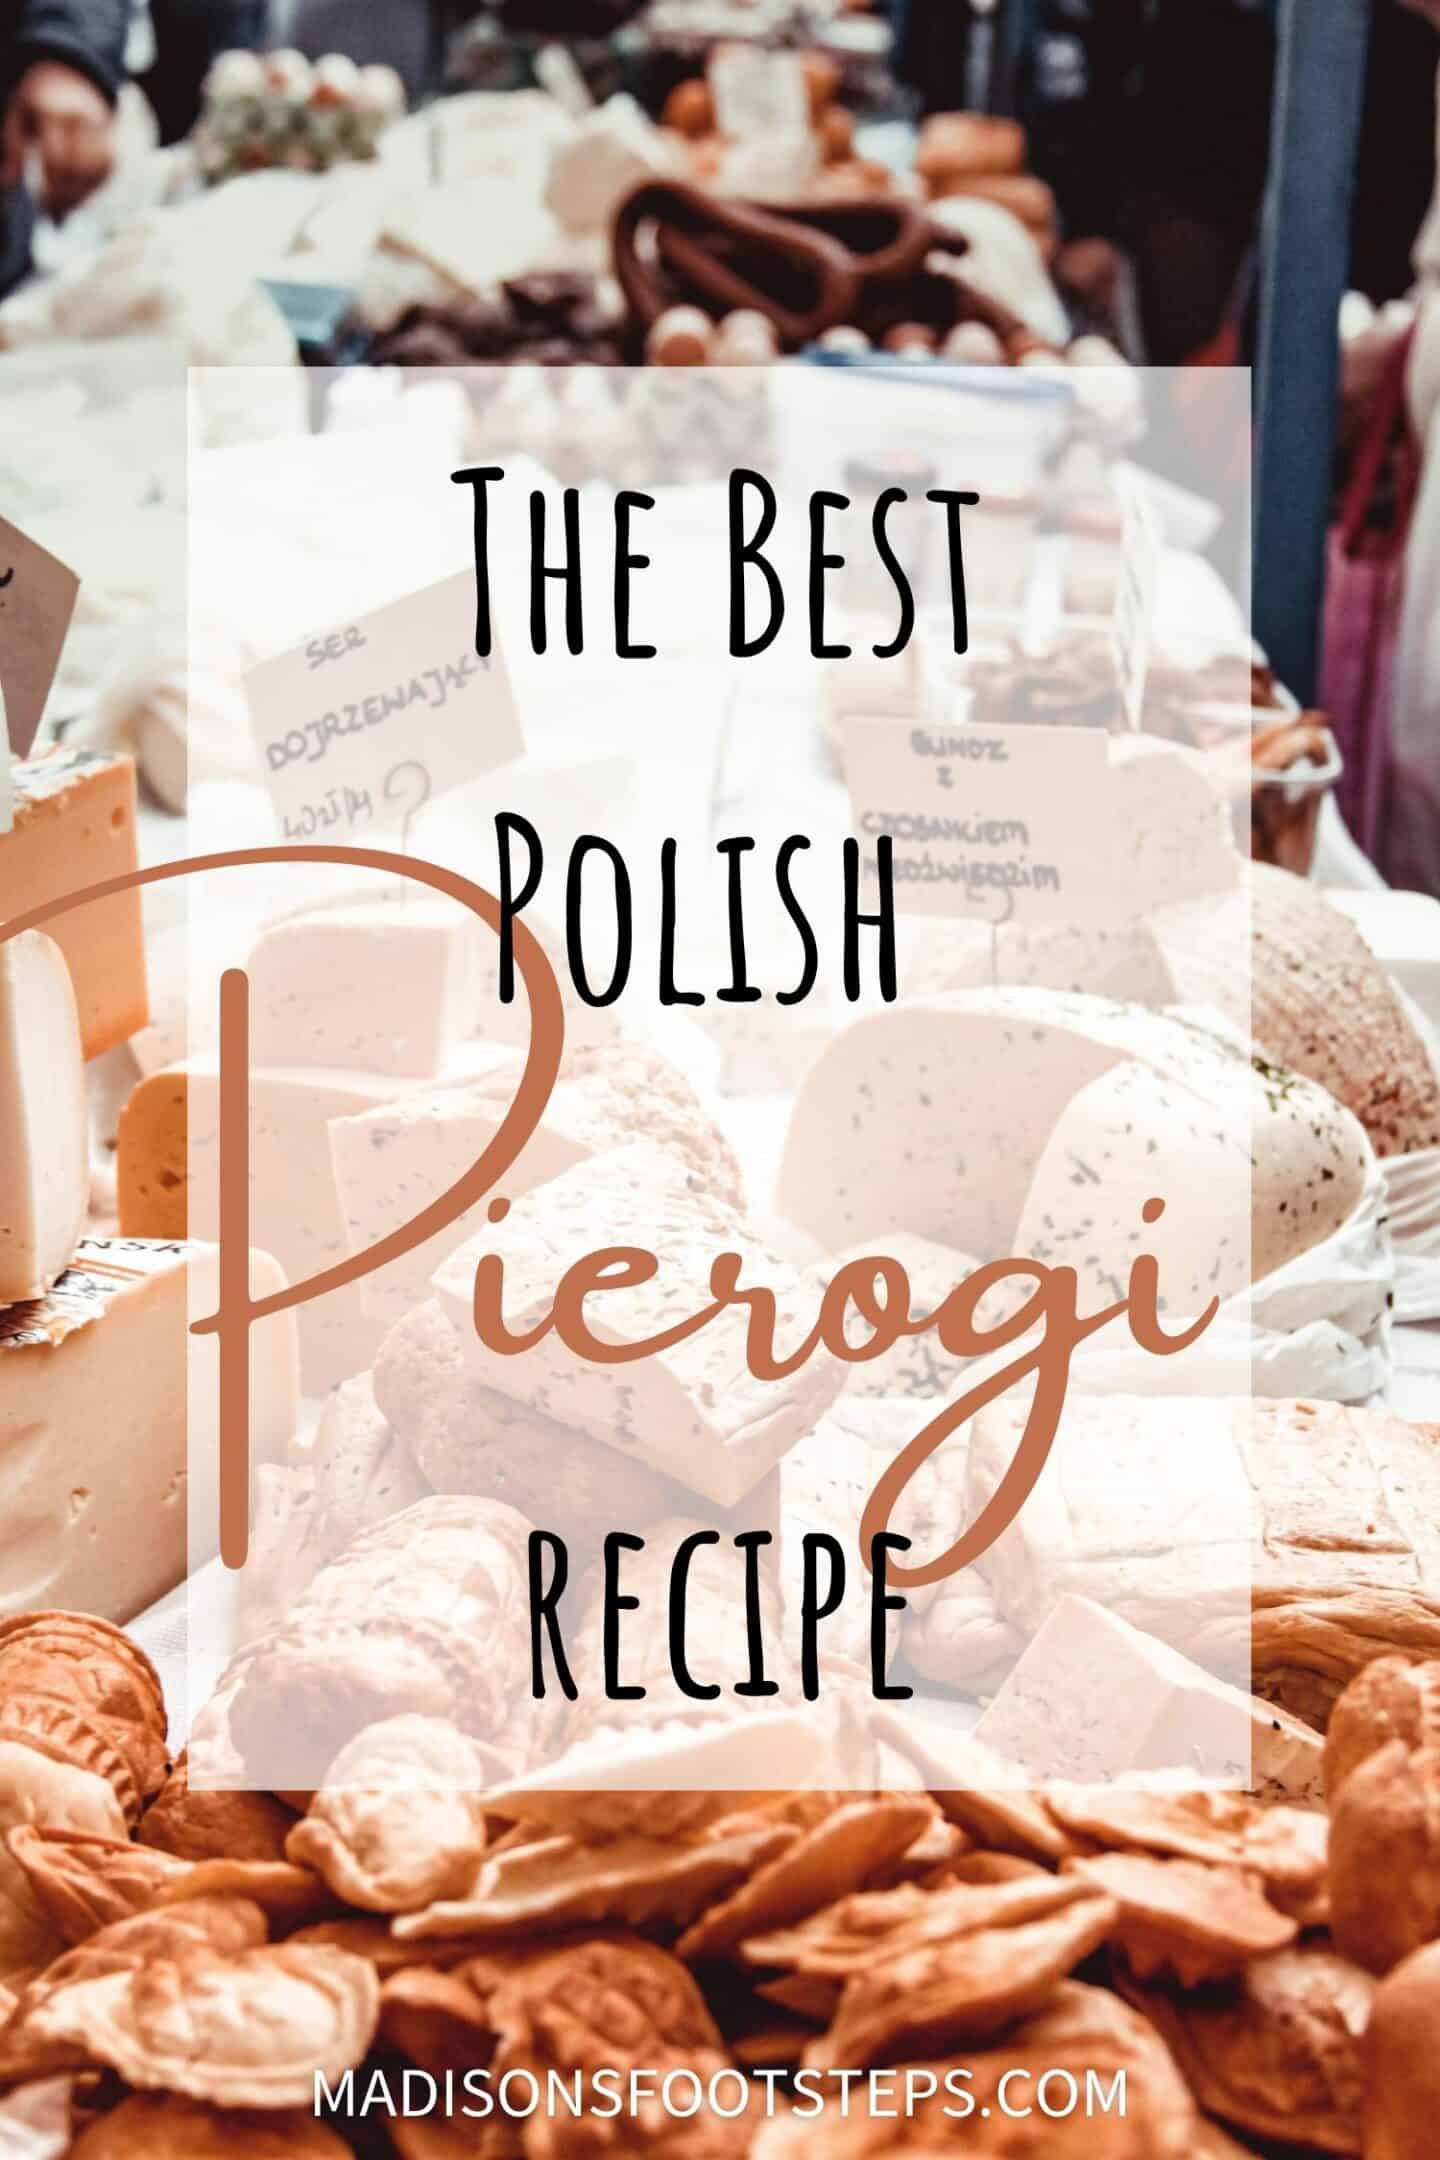
The class started out with a visit to the local market to pick up all your essential pierogi-making items! Olgierd gave us cheat sheets and taught us how to order the ingredients in (extremely broken) Polish.
We made our way to his kitchen and he put together some Polish appetizers for us to snack on while we cooked.

Make Pierogi Dough
Pour flour into large bowl and form a well in the center. Add water, egg, oil and salt into well and beat together with a fork (without mixing together with flour). Continue stirring while gradually adding flour until soft dough forms.

Transfer dough to lightly floured surface and begin to knead until smooth and elastic. This should take around 8 minutes and continue to add flour to keep the dough from sticking. Place soft dough in a bowl and let sit 1 hour at room temperature.
Mix the Filling
Peel potatoes and cut into 1-in pieces. Cook in large saucepan of salted water until tender, usually about 8 minutes. Drain. Then transfer to bowl and add cheese, salt and pepper and mash until smooth. Let cool.
Cook Onion Topping
Add onion and butter to saucepan and cook over moderately low heat. Stir occasionally until the onions are golden brown. Remove from heat and season with salt and pepper.
Stuff Pierogi
Halve dough, keeping the other half in bowl, and roll out on lightly floured surface (be sure not to over-flour or dough will not stretch) with a lightly floured rolling pin. Cut out rounds with a lightly floured cutter, a cup will work fine.

Holding round in one hand, add small amount of mashed potato filling to the center and close dough around the filling. Brush edges with water and pinch together to seal or seal with a fork. Make sure you’re not leaving any gaps or the filling could come out while cooking.


Cook the Pierogi
Bring a 6-8 quart pot of salted water to a rolling boil. Add half of pierogi, stirring a couple times to make sure they aren’t sticking together. After the pierogi float to the surface, cook 5 minutes longer.

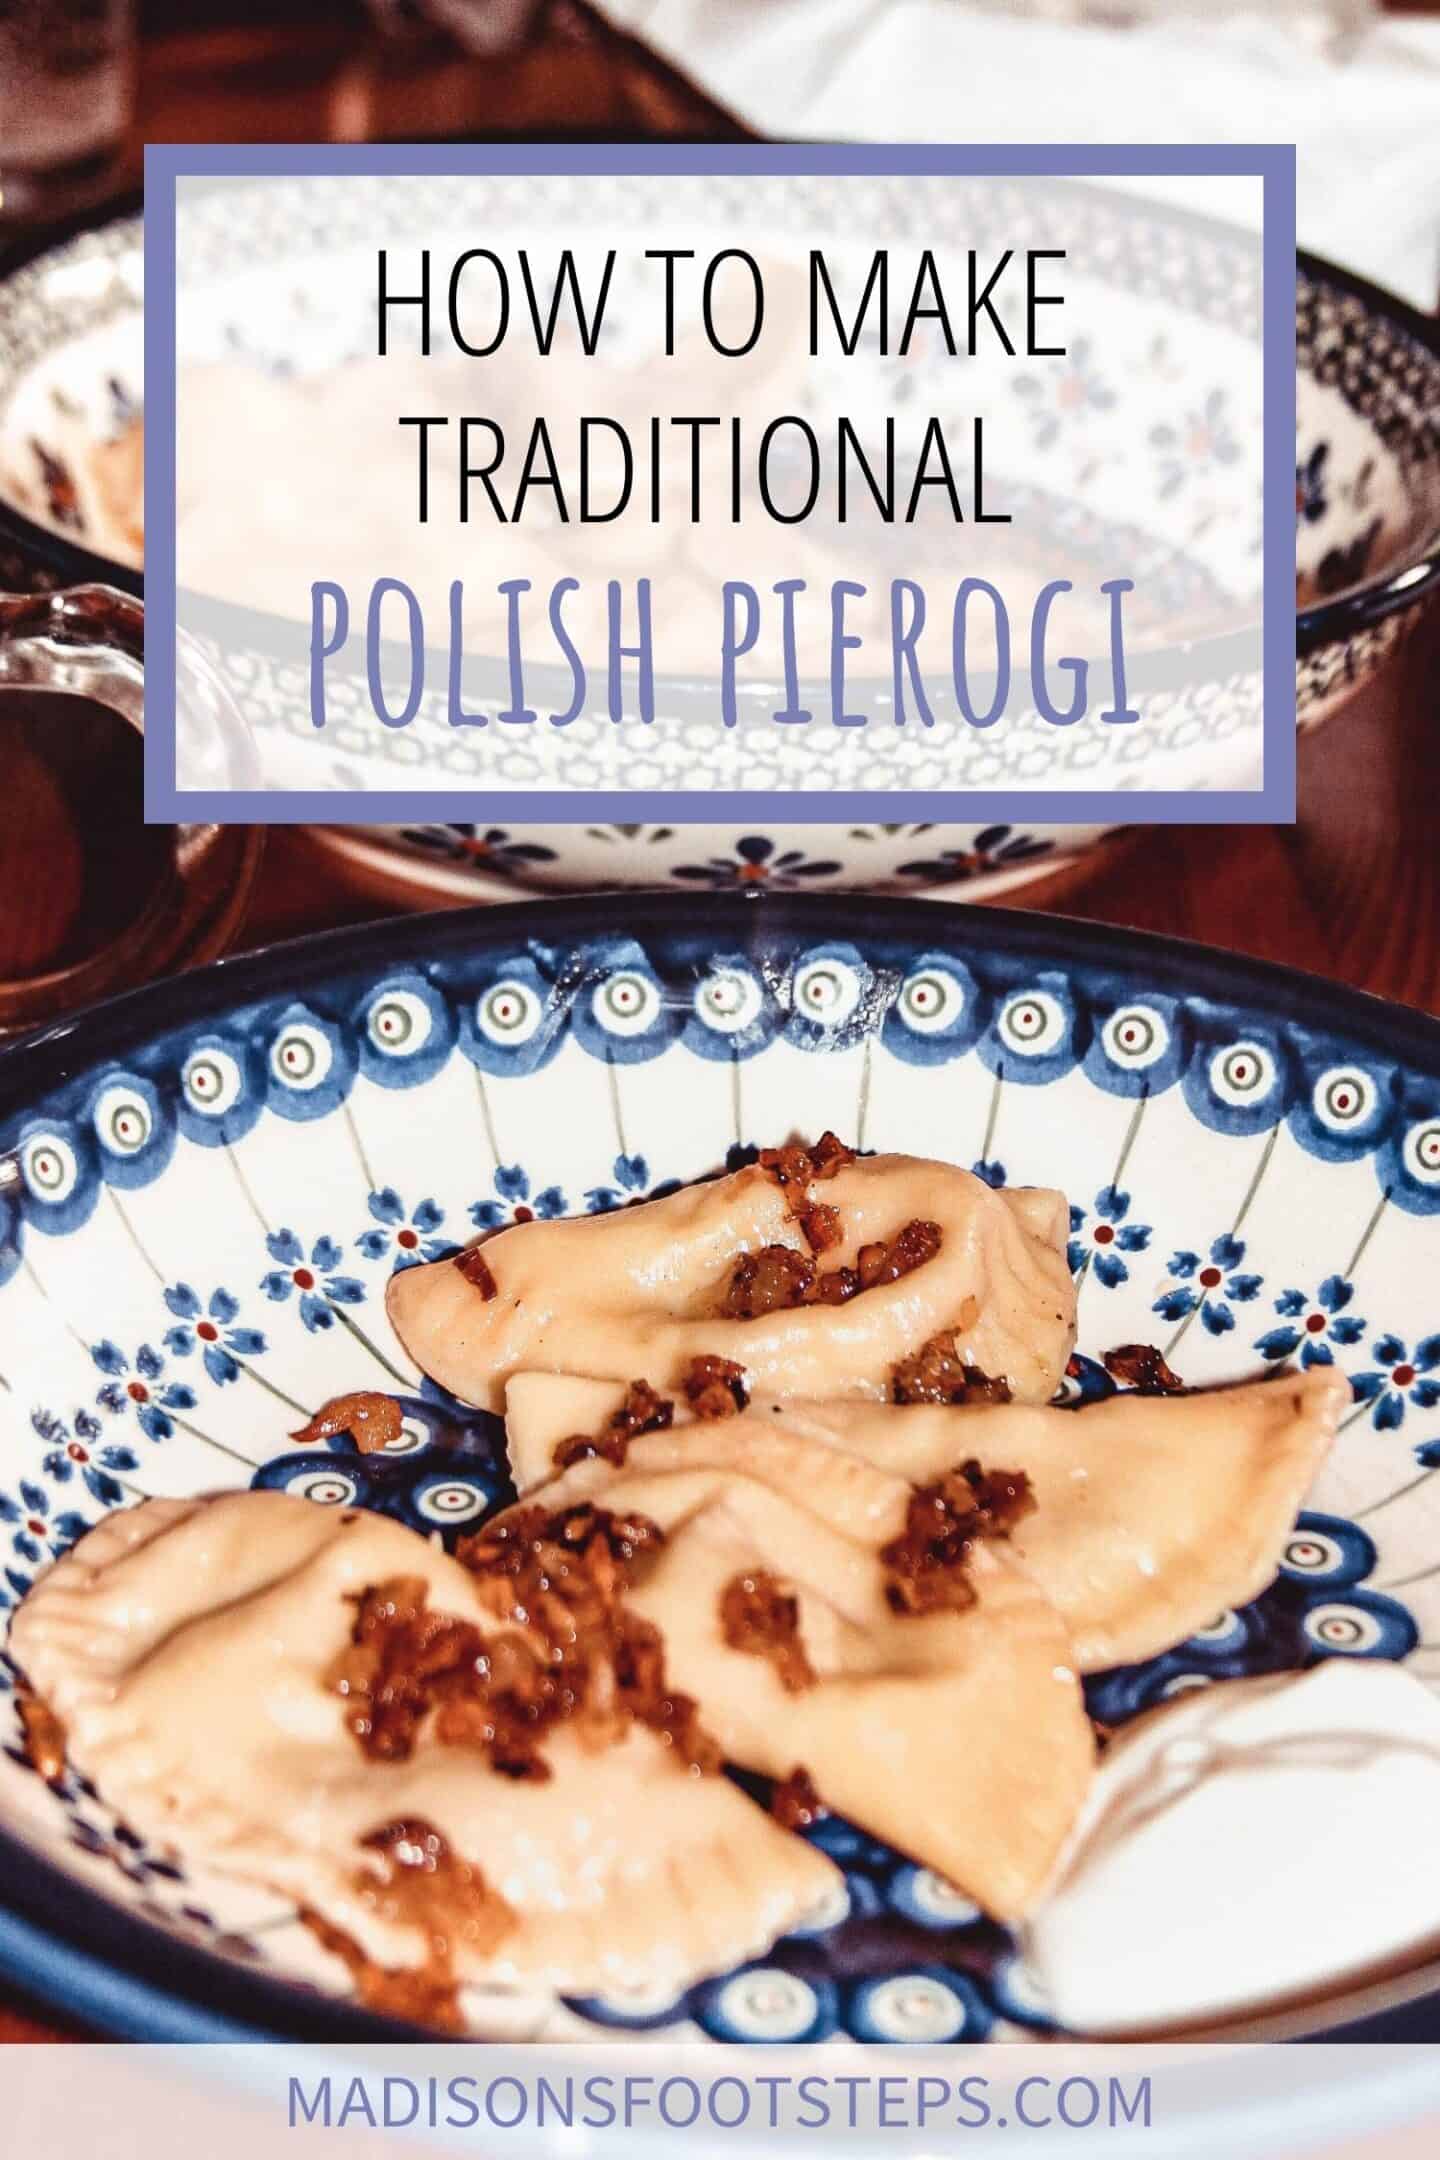
Serve and Enjoy!
Coat cooked pierogi in caramelized onion topping and serve with sour cream!

Finish off the meal with a traditional Polish dessert and an ice-cold beer!

I hope you enjoyed Olgierd’s pierogi recipe as much as I did. Wishing I was back in Poland eating my heart out on pierogi and polish donuts, but at least we can spend quarantine trying out some new and exciting recipes!
Traditional Polish Pierogi
Ingredients
Dough
- 1 cup Water
- 1 large Egg
- 3 cups All-purpose flour + more for kneading
- 1 cup Vegetable oil
- 1 tsp Salt
Filling
- 1 1/2 lb Russet potatoes
- 2 1/4 cups Coarsely grated extra-sharp white cheese (6 oz)
- 1/4 tsp Salt
- 1/4 tsp Black pepper
Topping
- 1 medium Yellow onion Halved lengthwise and thinly sliced crosswise
- 1/2 cup Unsalted butter
- Sour Cream for garnish
Instructions
Make Dough
- Pour flour into large bowl and form a well in the center.
- Add water, egg, oil and salt into well and beat together with a fork (without mixing together with flour).
- Continue stirring while gradually adding flour until soft dough forms.
- Transfer dough to lightly floured surface and begin to knead until smooth and elastic. This should take around 8 minutes and continue to add flour to keep the dough from sticking.
- Place soft dough in a bowl and let sit 1 hour at room temperature.
Mix Filling
- Peel potatoes and cut into 1-in pieces.
- Cook in large saucepan of salted water until tender, usually about 8 minutes.
- Drain. Then transfer to bowl and add cheese, salt and pepper and mash until smooth. Let cool.
Cook Onion Topping
- Add onion and butter to saucepan and cook over moderately low heat. Stir occasionally until the onions are golden brown.
- Remove from heat and season with salt and pepper.
Stuff Pierogi
- Halve dough, keeping the other half in bowl, and roll out on lightly floured surface (be sure not to over-flour or dough will not stretch) with a lightly floured rolling pin.
- Cut out rounds with a lightly floured cutter, a cup will work fine.
- Holding round in one hand, add small amount of mashed potato filling to the center and close dough around the filling.
- Brush edges with water and pinch together to seal or seal with a fork. Make sure you’re not leaving any gaps or the filling could come out while cooking.
Cook Pierogi
- Bring a 6-8 quart pot of salted water to a rolling boil.
- Add half of pierogi, stirring a couple times to make sure they aren’t sticking together.
- After the pierogi float to the surface, cook 5 minutes longer.
Serve
- Coat cooked pierogi in caramelized onion topping and serve with sour cream!
If you enjoyed learning how to make authentic pierogi from a Polish chef, head to my related posts…


If you give this recipe a try, I would love to see how your pierogi turn out 🙂 Drop a photo in the comments or send me a DM on Instagram @madisonsfootsteps, and don’t forget to follow along!
PIN THIS POST


one cup oil? that can’t be right …
I double checked the recipe for you directly from the chef, it says 1 cup of oil!